When you notice your dog’s ear flap has suddenly become swollen, puffy, and feels like a fluid-filled cushion, it can be alarming. This condition is likely an aural haematoma, a common issue that requires veterinary attention. A swollen ear, or pinna, can look alarming. But knowing the cause, treatment options, and recovery steps can help you make the best choices for your dog’s health and comfort.
This guide covers all you need to know about aural haematoma surgery in dogs. It starts with the diagnosis and goes on to important post-operative care steps.
Understanding Canine Aural Haematomas
What is an Aural Haematoma?

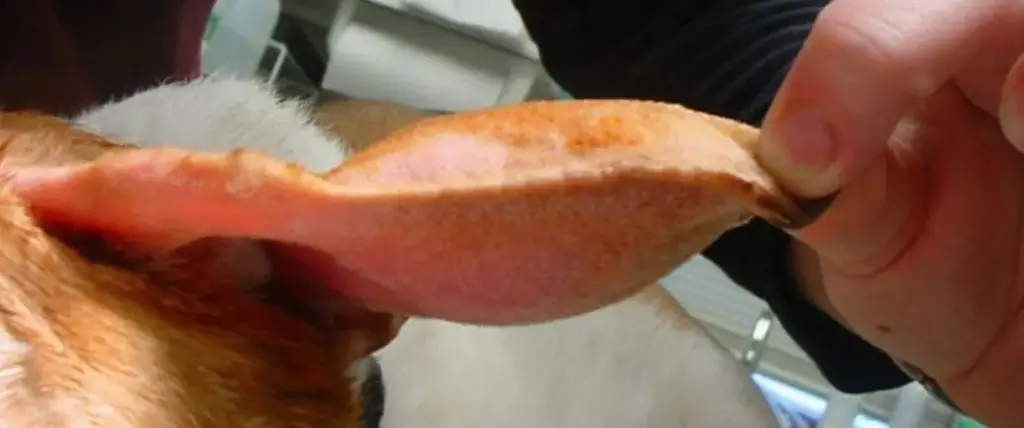
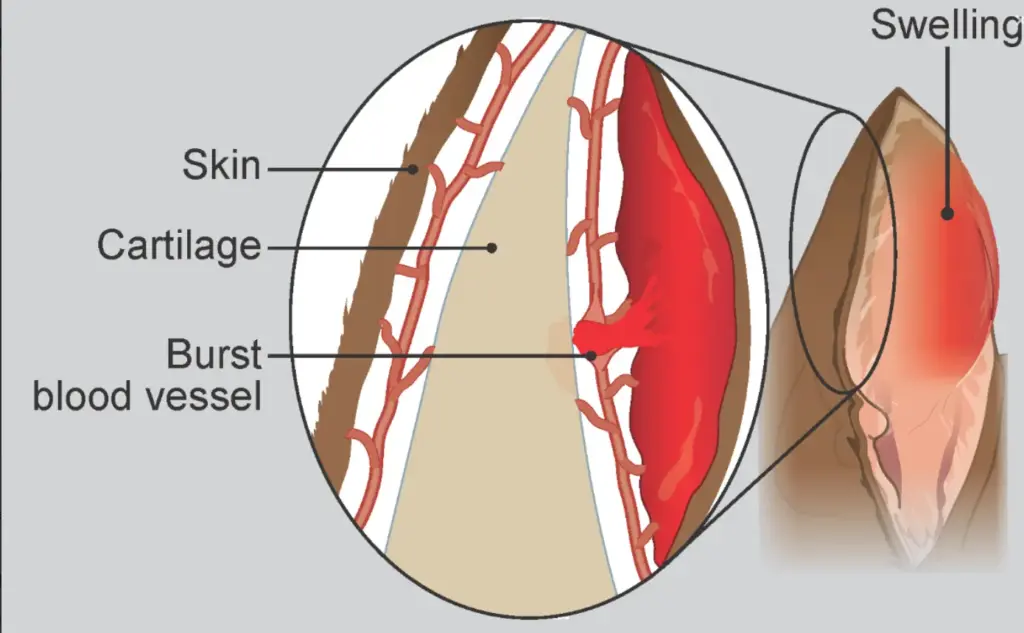
An aural haematoma, or Auricular Hematoma, is a buildup of blood. It happens between the skin and cartilage of the ear flap. The pinna is composed of a layer of cartilage covered by skin on both sides, and it is rich with blood vessels. When these delicate vessels burst, blood leaks out and gets trapped. This causes a noticeable and often tense swelling. This condition can affect one or both ears and can vary significantly in size.
Why Do They Occur? The Root Causes
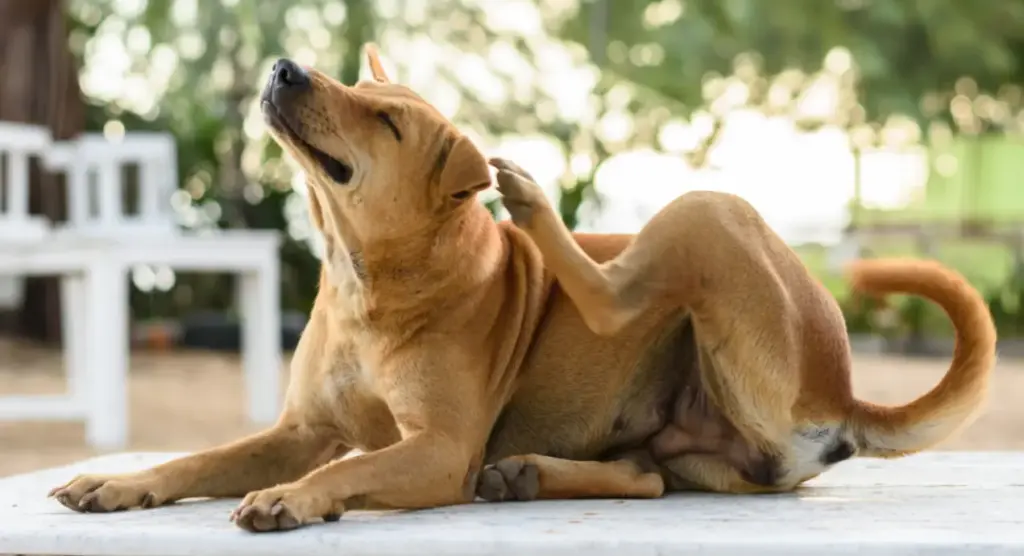
Aural haematomas are not spontaneous; they are caused by trauma. The most common source of this trauma is self-inflicted. When a dog has an ear problem, like an infection, allergies, or ear mites, it can lead to irritation. This irritation causes a lot of itching and discomfort. This leads to vigorous head shaking and persistent scratching. This violent motion causes the ear flap to repeatedly slap against the head, which can rupture the small blood vessels within the pinna.

The primary triggers for this behaviour include:
- Otitis Externa (Outer Ear Infection): This is the most frequent culprit. Bacterial or yeast infections create significant inflammation and irritation in the ear canal. Research highlights the prevalence of this issue, with one study finding that 7.3% of dogs get ear infections yearly.
- Allergies: Both environmental and food allergies can lead to itching, especially around the ears.
- Ear Mites: These parasites cause severe irritation within the ear canal.
- Foreign Bodies: Objects like grass seeds can get lodged in the ear canal, causing pain and prompting head shaking.
- Direct Trauma: A bite from another animal or an injury can also directly cause blood vessels to break.
Some breeds are more susceptible. A study in India found that German Shepherds had the highest chance of developing aural hematomas at 32.5%. This is likely due to their breed’s specific ear problems.
Recognising the Signs: Symptoms of an Aural Haematoma

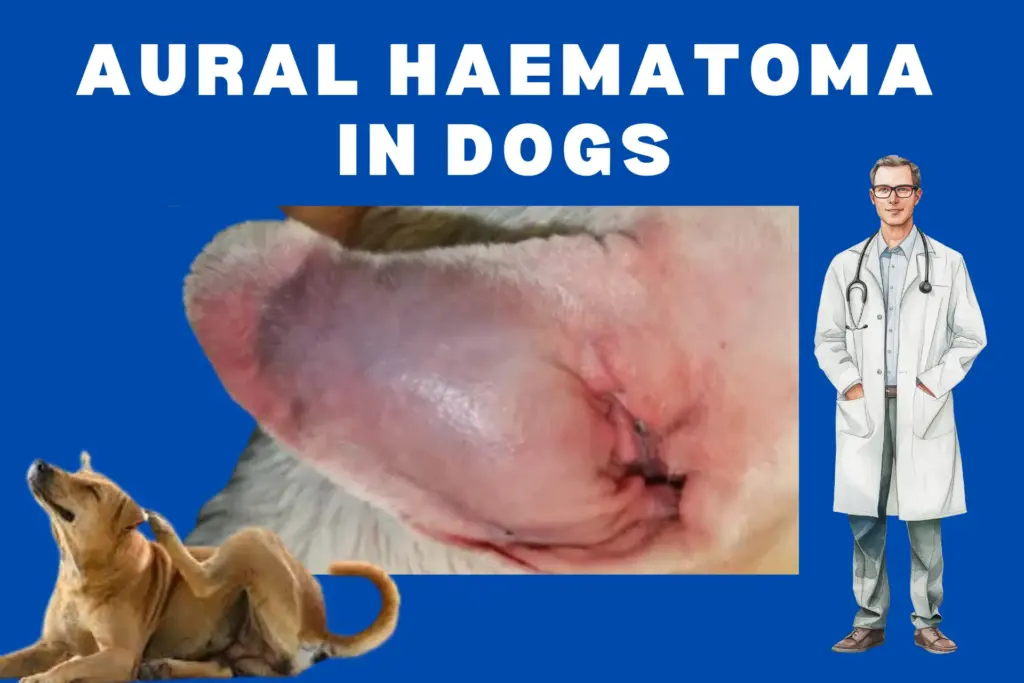
The symptoms are typically easy to spot. The most obvious sign is a soft, warm, fluid-filled swelling on the ear flap. This can cover a small part of the pinna or the entire ear flap. Other signs include:
- Visible swelling on the inner or outer surface of the ear.
- Holding the head tilted to the affected side.
- Pain or sensitivity when the ear is touched.
- Continued head shaking or scratching at the ear.
- A “cauliflower ear” appearance if left untreated, as the blood clot organises and scars.
Diagnosing an Aural Haematoma
Initial Veterinary Examination
If you suspect your dog has an aural haematoma, a veterinary visit is essential. A veterinarian can typically diagnose the condition based on a physical examination alone. They will assess the size, location, and tension of the swelling on the pinna and check for signs of pain.
Confirming the Diagnosis
In most cases, the characteristic appearance is enough for a diagnosis. However, your vet may perform a fine-needle aspirate. This involves inserting a small needle into the swelling to draw out a sample of the fluid. The presence of bloody fluid confirms the diagnosis of a haematoma.
Investigating Underlying Causes
Diagnosing the haematoma is only the first step. The most critical part of the examination is identifying the root cause of the initial irritation. Our vets at petyaari will do a careful otoscopic exam. They will look deep into the ear canal for signs of infection, inflammation, parasites, or foreign objects. A sample of ear debris may be collected and examined under a microscope to identify bacteria or yeast. Addressing this underlying issue is paramount to preventing recurrence.
Treatment Options: Surgical vs. Non-Surgical Approaches
Why Surgical Treatment is Often Recommended
Surgery is the gold standard for treating most moderate to large aural haematomas. It offers the highest success rate and the best cosmetic outcome. The main goals of surgery are to drain the blood, remove clots, and, most importantly, stop the space from filling up again. By using sutures to tack the skin back down to the cartilage, the surgeon eliminates the “dead space” where fluid could re-accumulate. This method tackles the problem head-on. It lowers the chances of it happening again and cuts down on scarring.
While there is a cost associated with the procedure, it is often the most effective long-term solution. The average cost for dog hematoma surgery can range from Rs 10000 to Rs 20000, depending on the clinic, the dog’s size, and the complexity of the case.
Medical Management: When it’s an Option
Non-surgical approaches exist but are generally reserved for very small, early haematomas or for animals where anaesthesia is a high risk. These options include:
- Aspiration: Simple drainage with a needle. This provides immediate relief but has a very high rate of recurrence, as the space is not closed and the blood vessels continue to seep.
- Drain Placement: A small teat cannula or Penrose drain can be placed to allow continuous drainage, but this can be difficult to manage at home.
- Steroid Injections: Injecting a corticosteroid into the empty haematoma pocket after aspiration can reduce inflammation. However, this method doesn’t always work.
These methods usually need several vet visits. If they don’t work, they can cause worse scarring and even a “cauliflower ear.”
A Deep Dive into Aural Haematoma Surgical Procedures
Pre-Surgical Preparations and Anaesthesia
Before surgery, your veterinarian will probably suggest pre-anaesthetic blood tests. These tests help ensure your dog is a good candidate for general anaesthesia. This is a standard safety measure to check organ function. Your dog will be placed under general anaesthesia for the duration of the procedure to ensure they remain still and feel no pain.
Common Surgical Techniques Explained
The specific surgical procedure can vary, but the principles are consistent. The goal is to drain the blood and close the space between the skin and cartilage. The most common surgical approach involves:
- Incisional Drainage: The surgeon makes a linear or S-shaped incision on the inner surface of the pinna. This allows for complete drainage of the blood and removal of any solid clots.
- Suturing: This is the most critical step. The surgeon places multiple rows of sutures that pass completely through the ear flap, from the inner surface to the outer surface. These sutures hold the skin and cartilage together. They close the pocket and apply pressure to stop refilling. This also helps the damaged tissues heal correctly.
In some cases, a temporary drain may be placed to allow any residual fluid to escape for a few days post-surgery.
What Happens During the Procedure
Once your dog is safely under anaesthesia, the surgical site on the ear flap is shaved and thoroughly cleaned. The surgeon makes the incision, drains the haematoma, and flushes the pocket. Then, the crucial sutures are meticulously placed across the area where the haematoma was located. The incision itself may be left open to encourage continued drainage or may be partially closed. The whole process aims to fix the haematoma for good and help healing with little scarring.
Post-Operative Recovery: What to Expect
Immediate Post-Surgery Care
When you pick your dog up, they will likely be groggy from the anaesthesia. Their head will almost certainly be wrapped in a bandage. This bandage has several uses: it protects the incision, applies gentle pressure to the ear flap, and helps absorb drainage. It also discourages the dog from shaking its head.
Managing Pain and Discomfort at Home
Your dog will be sent home with pain medication and likely antibiotics. It is crucial to administer these exactly as prescribed to keep your dog comfortable and prevent infection. Managing pain effectively is key to a smooth recovery and helps reduce the urge to shake the head.
The Indispensable Elizabethan Collar (E-Collar)
The E-collar, or “cone of shame,” is non-negotiable. It keeps your dog from scratching at the sutures or bandage. This helps avoid damage, prevents infection, and stops the need for another surgery. The collar should be worn at all times unless you are directly supervising your pet.
Bandaging and Wound Care

Your veterinarian will provide specific instructions for bandage care. You may need to monitor it for slipping, excessive tightness, or strike-through (fluid soaking through). Some bandages require changing at the clinic, while others stay on until the follow-up appointment.
Activity Restrictions and Rest
Rest is vital for healing. Limit your dog’s activity for the first one to two weeks. This means no rough play, running, or jumping. Leash walks for bathroom breaks are all that should be permitted.
Recovery Timeline
- First 24-48 Hours: Your dog will be sleepy and may have a reduced appetite. Pain management is most critical during this time.
- 3-7 Days: Any surgical drain is typically removed. Your dog should start feeling more comfortable.
- 10-14 Days: The sutures are usually removed at a follow-up appointment. The ear will still be healing, but should look much improved.
- 2-4 Weeks: Swelling should be resolved, and the ear will continue to heal. Full cosmetic appearance may take several weeks to months.
Comprehensive At-Home Care and Monitoring
Daily Inspection and Cleaning
Check the surgical site daily for signs of infection, such as excessive redness, swelling, heat, or a foul-smelling discharge. Follow your vet’s instructions for any gentle cleaning required around the sutures. Also, monitor the ear canal for signs of the original underlying infection.
Administering Medications
Be diligent with all prescribed medications. Finish the entire course of antibiotics, even if the ear looks better, to prevent the infection from returning.
Managing the E-Collar Effectively
Help your dog adjust to the E-collar. Ensure it’s fitted correctly, not too tight, but snug enough that they can’t slip it off. You may need to raise food and water bowls to make them easier to access.
Nutritional Support and Hydration
Ensure your dog is eating and drinking. If the E-collar is making it difficult, you can temporarily remove it during mealtimes while you are present to supervise closely.
Providing a Safe and Comfortable Environment
Create a quiet, comfortable resting place away from household chaos where your dog can recover peacefully.
Preventing Recurrence and Addressing Underlying Causes
The surgery fixes the haematoma, but it doesn’t fix the root cause. Preventing another haematoma requires diligent, long-term management of your dog’s ear health. This means:
- Completing Treatment for the Underlying Cause: Finish all medications for the initial ear infection or allergy management plan.
- Regular Ear Cleaning: Team up with your vet to set up a cleaning schedule. Use the right solution to keep the ear canal healthy.
- Ongoing Allergy Management: If allergies are the culprit, ongoing treatment will be necessary.
- Prompt Veterinary Care: At the first sign of head shaking or scratching, seek veterinary attention before a new haematoma can form.
Conclusion
Finding an aural haematoma on your dog’s ear can be worrying. But with the right veterinary care, the outlook is very good. While medical management exists, surgical correction remains the most reliable and effective method for resolving the issue permanently and achieving the best cosmetic result. The procedure is simple, but your success in recovery relies on your at-home care. By managing pain, ensuring the E-collar stays on, restricting activity, and, most importantly, addressing the underlying cause of the initial irritation, helps in full and comfortable recovery. Work closely with your veterinarian during this process. This partnership is key to your dog’s long-term ear health.
